Post to SharePoint Blog Using Windows Live Writer
- Discussion Board vs. Blog
- Blog Usage in SharePoint
- Post to SharePoint Blog Using Windows Live Writer
Hopefully you had a chance to participate in the Live Online Workshop here at EndUserSharePoint.com, Fundamentals of Wikis and Blogs. Now that you’ve chosen to start using a SharePoint blog, and seen some of the core fundamentals, it’s time to start exploring different features of it.
First thing that people typically want to do is to create their first post. It’s very intuitive and easy to create a post utilizing the Web UI; however, it doesn’t allow a great deal of functionality. A popular trend as of late is to utilize Windows Live Writer. Let’s explore how to configure Windows Live Writer to post to your blog.
Initial Setup
 If you don’t have Live Writer: Download and install the Windows Live Writer: http://download.live.com/writer. Once you launch the program, it will ask you to setup an account.
If you do have Live Writer: Launch the program Live Writer, and select from the file menu: Tools > Accounts > Add
Configuration for SharePoint Blog
- When Live Writer asks what blog service you want to use, select SharePoint blog. Click the Next button.

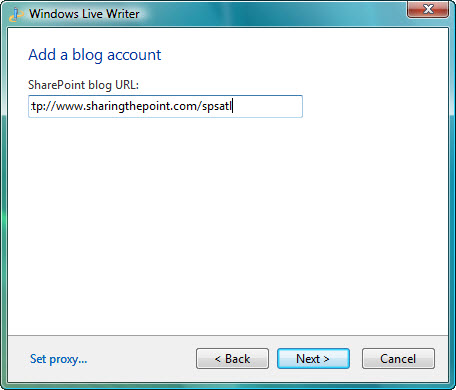
- On the next screen, it will ask you for the SharePoint blog URL. Here you should enter the full URL to the location of your SharePoint site that was created utilizing the Blog Site template. Click the Next button.
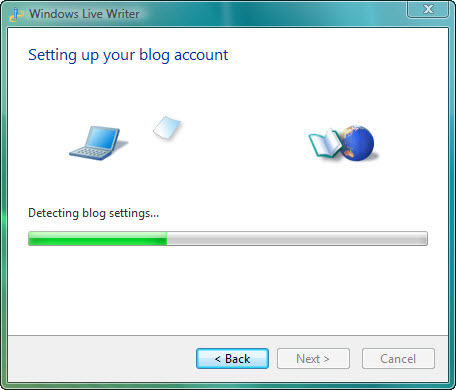
- The next screen will be automated. It is detecting and downloading your blog settings, including the theme for your SharePoint site. This theme will be applied to the styling of your posts in live writer.
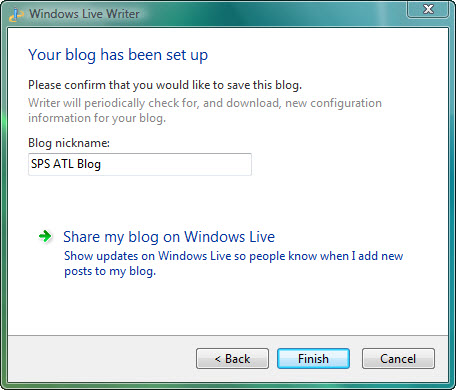
- You’re all done! Give your blog a nickname, and click the Finish button.
Highlighted Features
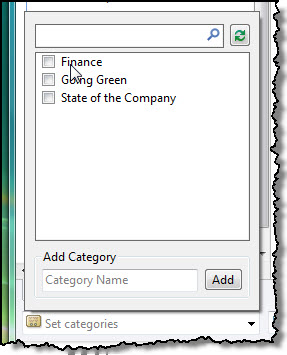
Category:
After you write an entry, you can select which Category the post should belong to. This Category list is pulled directly from your SharePoint Blog’s category list.
Preview:
As you are writing the blog post, there are three tabs in the bottom left-hand corner. Selecting one of these tabs will give you a different view of the entry whether it’s the Edit screen, Source code, or even a Preview. This preview will show you exactly how the entry will look in your site once it’s posted.

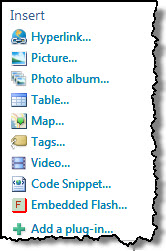
Insert:
The insert panel in Windows Live Writer gives you quick access to feature rich content to embed in your blog entry. You can also download additional plug-ins for the application from the Windows Live Gallery: http://gallery.live.com/default.aspx?pl=8
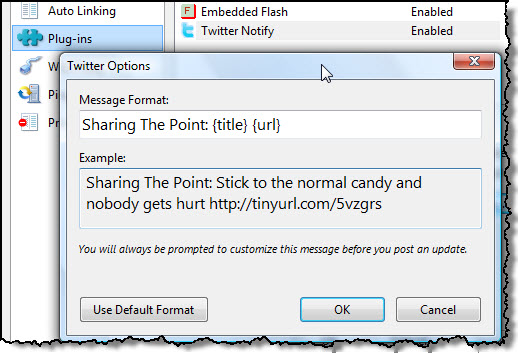
Twitter Notify:
If you are a micro-blogger, you may want to look at utilizing the Twitter Notify plug-in (created by Microsoft). This plug-in allows you to ‘tweet’ your blog post with a shortened link. You can control what the message’s format will be under the Live Writer options for Plug-ins.
Conclusion
With Windows Live Writer, you’ll be on your way to creating and posting well formatted and feature rich blog posts in a little amount of time. As you have seen, configuring Live Writer to post to a SharePoint blog is very intuitive. The only thing that you may have trouble with is creating the content for your post – that’s up to you!
As you begin to use it, feel free to share with us some of the features that you find useful. In our next article, we’ll look at how you can post to a SharePoint blog directly from Microsoft Office Word 2007.
 |
Dan Lewis, SharePoint Consultant & Evangelist Follow me on Twitter: @danlewisnet |
- Discussion Board vs. Blog
- Blog Usage in SharePoint
- Post to SharePoint Blog Using Windows Live Writer


 on
on