
How to Install SharePoint 2010 on Small Farm – Part 1: Full Installation on Small Farm up to Managing Service Applications
 Guest Author: Fabian Williams
http://fabiangwilliams.wordpress.com
Synopsis: This is a two part blog, I will be focusing on the General Installation and configuration, then I will discuss how to set up User Profile Services which I know gives a few folks he willies in part 2.
In this blog we will run through the process of installing SharePoint 2010 in a small Farm Environment. In this topology we have two servers and a Windows 7 Guest. The roles are below:
Server 1: VMWare Windows Server 2008 Standard
Role: Domain Controller and Mail Server
Specs: Windows 2008 Standard 2048 MB Ram, 80 GB HDD
Server 2: VMWare Windows Server 2008 Enterprise
Role: SharePoint 2010 Server
Specs: Windows 2008 Standard 3072 MB Ram, 80 GB HDD
Additional Software: Visual Studio 2010 Professional
Workstation: VMWare Windows 7 Ultimate
Role: Guest
Specs: Windows 7 Ultimate 2048 MB Ram, 60 GB HDD
Additional Software: Microsoft Office 2010 Professional Plus, Visio 2010, Project 2010, Adobe Acrobat
The first thing that i advise clients and something that I do even for my environment is prepare whats know as a Farm Preparation Guide which details the Physical Architecture, Logical Architecture, Specs, Accounts Username and Passwords, License keys, etc. I also go as far and moving the installation bits locally on the server to reduce I/O. Once I am satisfied, I run setup…
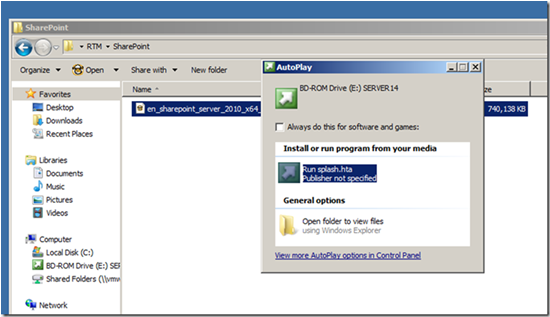
Above: Launching Setup
Once setup is launched, the very first thing you need to do is “Install software Prerequisites”
N.B. I thoroughly advise you to Uninstall any items that maybe on your computer that constitutes one of the prerequisites that you will be installing in this section I specifically call out “Windows Identity Foundation” which will blow up your installation if already installed. Click the link to install pre-reqs
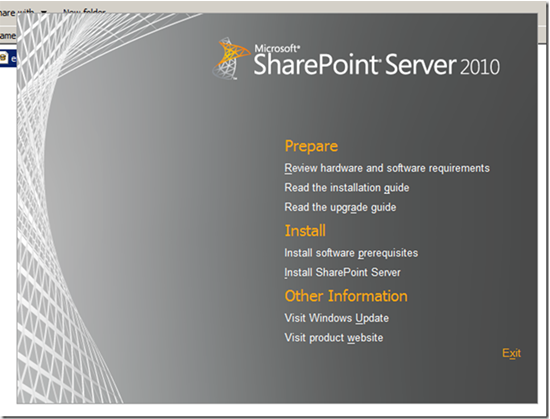
Above: Splash screen with Options for Installation
Below are the items that will be installed as prerequsites for SharePoint 2010, if any of these fail, you MUST correct it before moving forward even though the installation may allow you to continue. I have seen instances where my “Microsoft SQL Server 2008 Analysis Service ADOMD.NET” failed to install and it allowed me to continue then blew up later on. Click Next to begin…
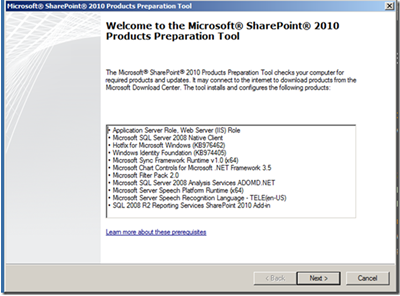
Above: SharePoint Pre-Reqs
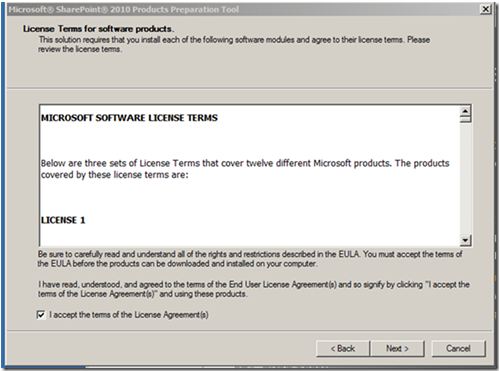
Above: Accept the Terms and Proceed
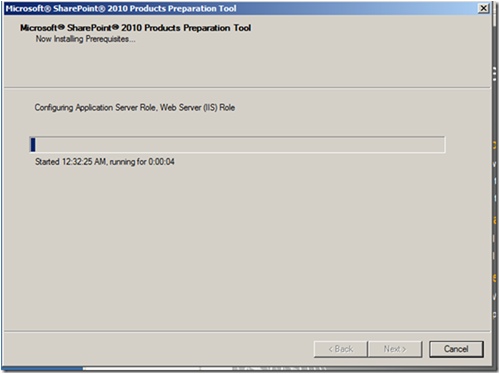
Above: Status Bar as the Pre-reqs are installed
Below here is an instance where I had a failure and I installed the Pre-Req directly by downloading it of MSDN and applying it myself, w/out doing it in the tool. That is why you see that some of the items are set to “no action taken”
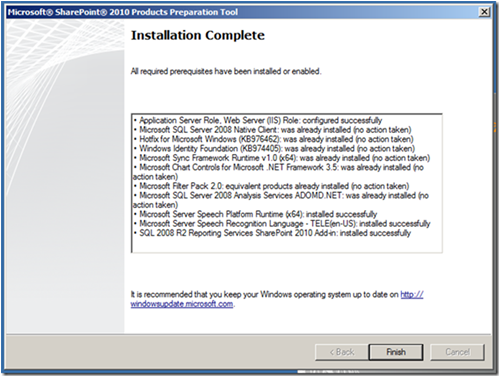
Above: All Pre Reqs installed
Next you need to provide the appropriate license key. I am often asked if the build installs anything different based on the Key. The answer is the build installs everything but features are disabled or not available based on the key, but can be later turned on by providing the necessary key.
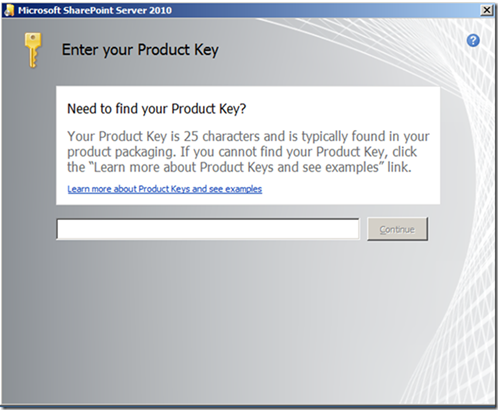
Above: Enter your License key here
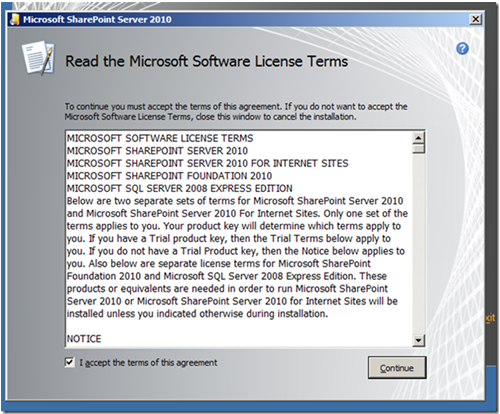
Above: Accept the Terms…
Personally, I will tell you that I have NEVER chosen “Standalone”; I always do Server Farm, because I want the extensibility ‘yes even in my lab environment’ to add Servers and Roles Later on. So in this Instance I choose “Server Farm” and continued.
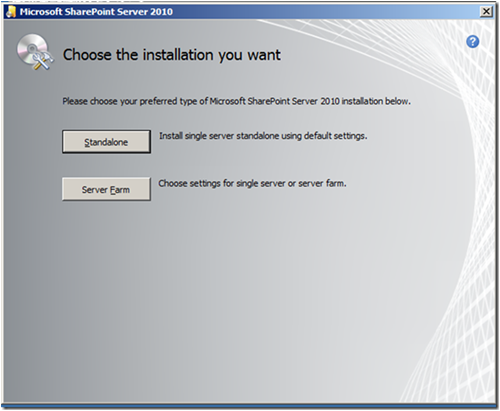
Above: Options for Installation
Yeah, you want to select “Complete” here if you have your own instance of SQL already and want more options for configuration later on.
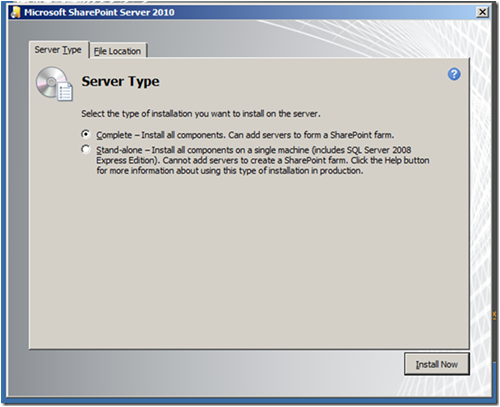
Above: Determining the role of the Server you are installing
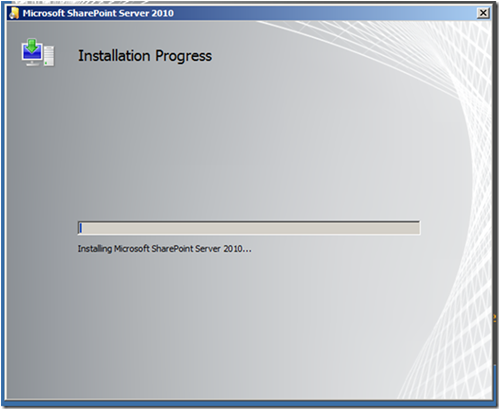
Above: Installation Progress
Once the Installation is complete (assuming that there is only one server in the Farm) if there are more than one server then stop here and complete the installation of the other servers and then run the “Products and Configuration Wizard” on the sever that will be doing Central Administration Duties.
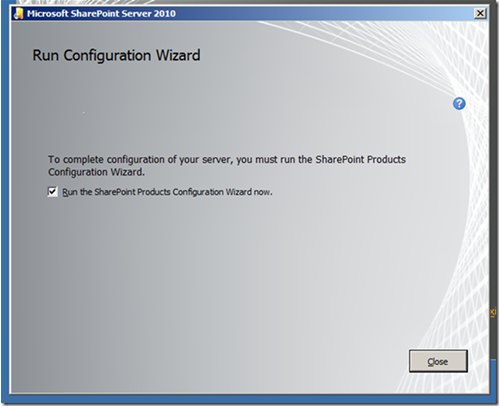
Above: Once the installation of the bits are complete, the Configuration of the Farm Begins once you click close and the check box is enabled.
Make sure that you have your Farm Prep guide (previously mentioned in this post) with all your information before moving forward, you will need account names, server names, etc
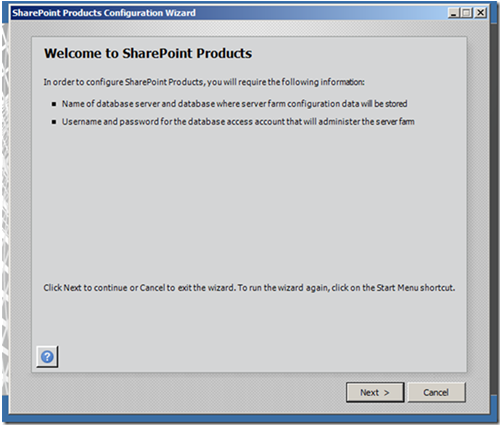
Above: This begins the configuration phase of the Farm
As part of the configuration, a few services have to be stopped and restarted.
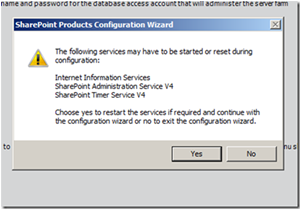
Above: Installation about to begin.
If this is the first server then you choose “Create a new Farm” if it isn’t then you must choose the other.
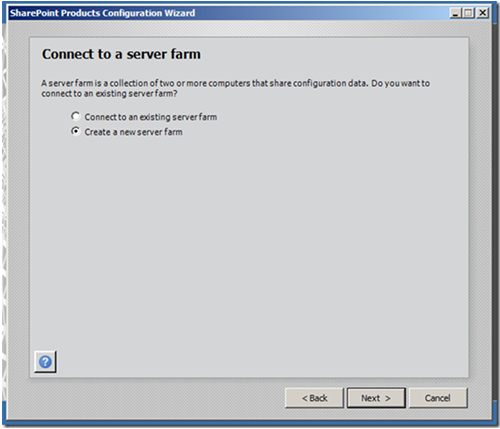
Above: Choosing whether you are creating our adding to a farm
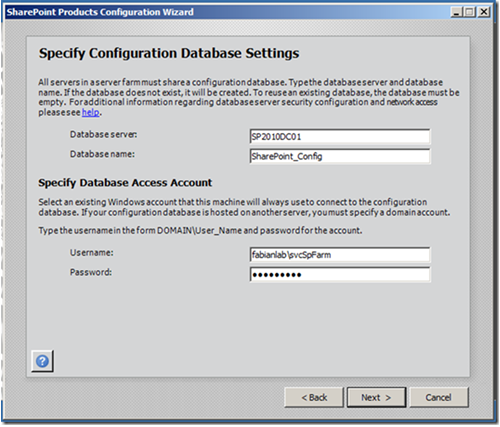
Above: My DC is also hosting my SQL Server
New to SharePoint 2010 is the concept of a Passphrase for configuration; this passphrase is used for such things as
- Adding additional severs to the farm
- Acting as the Public Key in your Secure Store Configuration
- etc
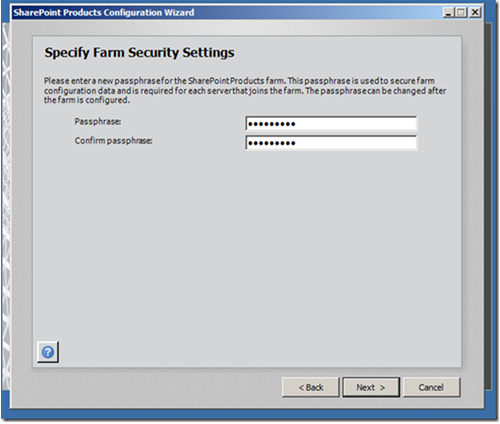
Above: Applying the passphrase
Here you will get a random port number to begin with, typically i use 9999 in my installations. and here is where you will choose NTLM or Kerberos as your authentication provider. If you are using Kerberos see this techNet article http://technet.microsoft.com/en-us/library/ee806870.aspx
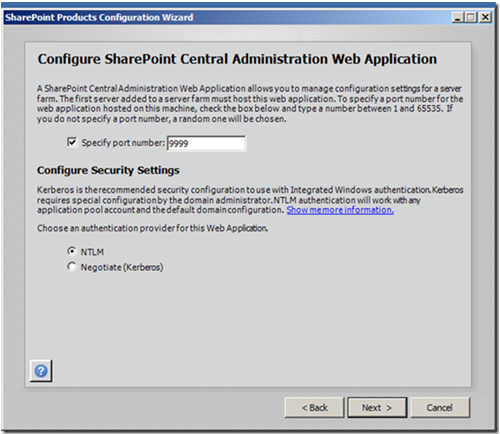
Above: Configuring SharePoint
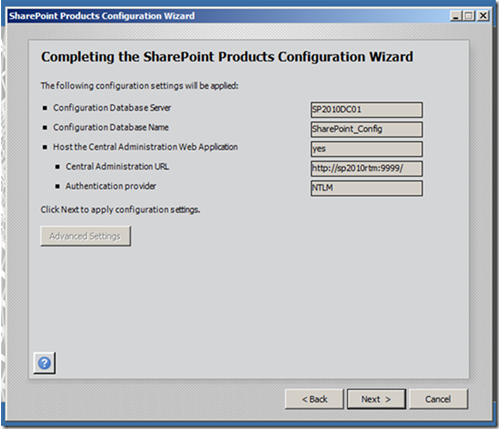
Above: Configuring SharePoint
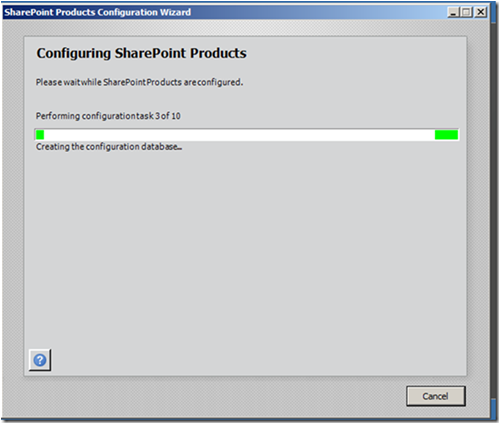
Above: Progress bar in part of the Configuration
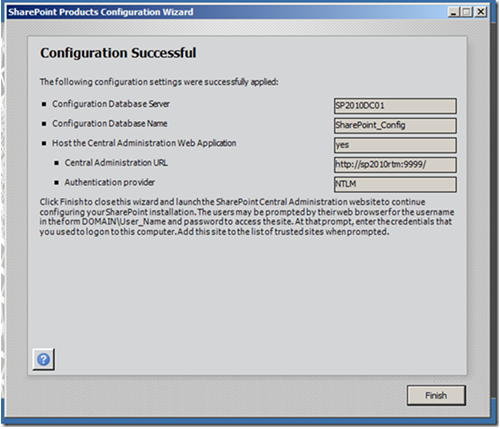
Above: Configuration Complete
The next steps in the Configuration are done in the Central Administration page. The wizard is pretty good here, I would highly recommend you use it, even for as much as going back afterwards and making changes to the Service Applications or deleting and/or recreating to suit your needs, it is invaluable in teaching you how the configuration should be
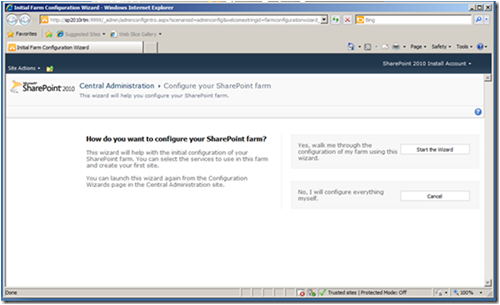
Above: the initial configuration page in Central Admin
Point to note here is that the Wizard driven configuration uses the Farm Account for all the Service Applications, you will need to go to the “Services on Server” or “Service Applications” themselves to change the relationship of the Default App Pool and Service Accounts to which you want to run your specific Service Application under. Obviously, before you do that you create your Managed Accounts first.
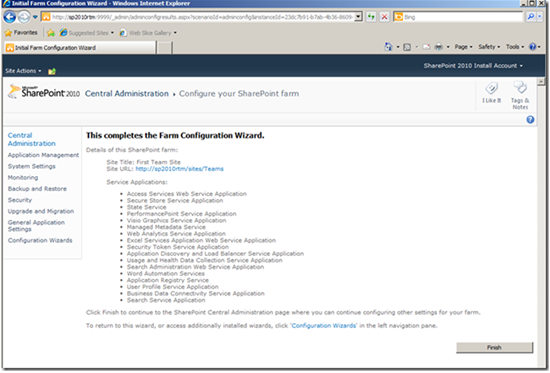
Above: the conclusion of the Wizard Driven Configuration
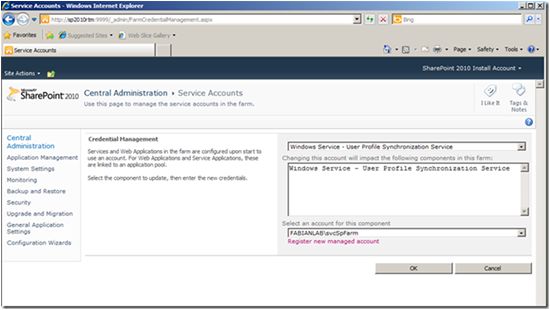
Above: Just a demonstration of what the Service Application and Service Account looks like
Next, I am going to register a few Managed Accounts to run some of my Service Applications. Things I want to run separately are:
- User Consumable Web Application/ Sites
- User Profile Service
- Search/ Crawl
- Secure Store
to name a few
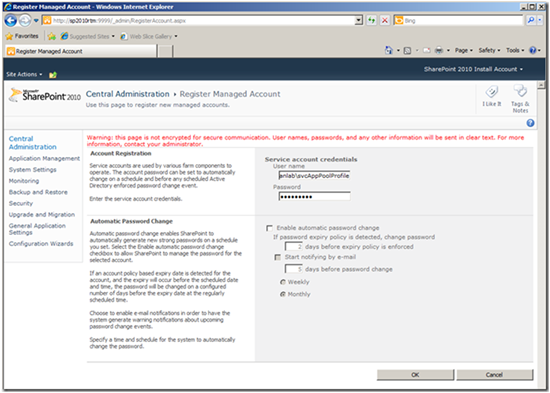
Above: Registering a Managed Account
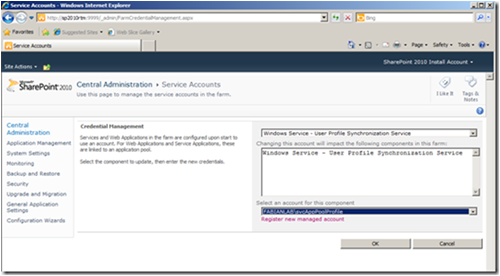
Above: Consuming that Managed Account for a specific Service Application
Below I am setting up all my Managed Account so you can see which ones i separate out
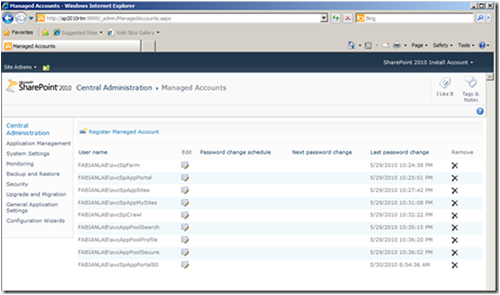
Above: All the Managed Accounts that I configured. This assumes that you have these accounts configured in Active Directory
Below is an example of me changing not only the Managed Account but also the Application Pool that a Service Application runs under. I want my Secure Store Service to run under its own App Pool and its own Managed Account
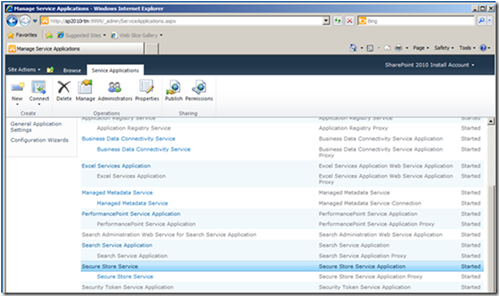
Above: by NOT clicking on the word “Secure Store Service” but clicking on the blue bar between the words, then clicking on Properties in the Ribbon..
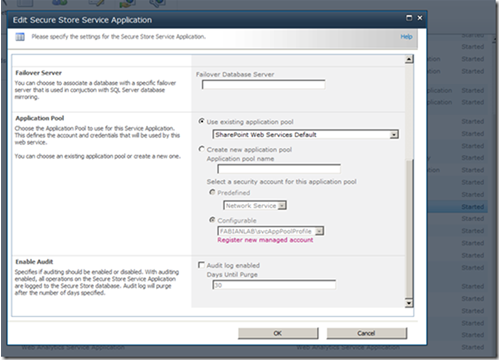
Above: This is the properties window of the Service App
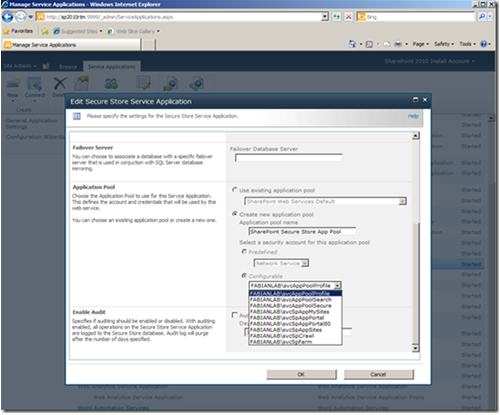
Above: I am creating a new Application Pool and associating it with my Managed Account.
Above: the progress bar for the activity i am doing
Once completed you will see the display window below
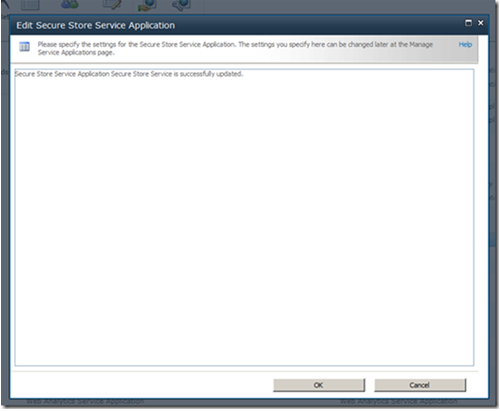
Above: A successful change to a Service Application
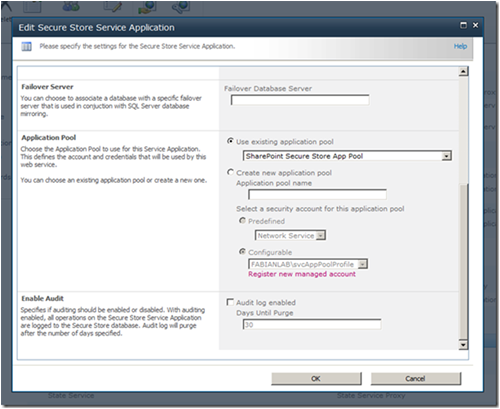
Above: the new Properties window for the Secure Store Service Application
Conclusion and Prelude to Part 2 of the Blog
So after you finish the initial configuration and before you get into the Managed Accounts as I did, you are prompted to create a Top Level Site, you can either elect to do it or skip, choice is your; I omitted that from this blog for brevity. Next we will go into Configuring User Profile Service.
Hope this was useful, as always, comments, critiques are welcomed.
Cheers!
Guest Author: Fabian Williams
http://fabiangwilliams.wordpress.com
Twitter: @FabianWilliams
Fabian Williams is a Technical Lead and SharePoint Architect for CDW Advanced Technology Services SharePoint Practice. He is based out of Herndon Virginia. Mr. Williams has a Bachelors degree in Computer Information Systems from Strayer University, Washington, D.C. and is 9 Credits and a Capstone away from Masters in CIS at Johns Hopkins University in Columbia Maryland. In addition, he is a Microsoft Certified Systems Engineer (MCSE), Microsoft Certified Solutions Developer (MCSD) and a Microsoft Certified Database Administrator (MCDBA).
- How to Install SharePoint 2010 on Small Farm - Part 1: Full Installation on Small Farm up to Managing Service Applications

Good job. Would you mind listing the managed accounts you created? I can’t make it out in the small picture.
Thanks
my blog has all the information you need i have one especially done with powershell
Nice article, but it would be nice to allow people to view the pictures at full size.
Really nice article. i have couple of questions thought,
1) i am doing production install for small farm and want to know if i should SharePoint Farm Configuratuion Wizard to configure all my servies or manually configure services? I want to enable all services as its 2 server install.
2) We dont want to allwo user to create My Sites or My Profile, How do i achive this
3) And as we dont want My Sites or My Profile, do we have to configure User Profile server or we can go without it?
I really appricite your answers on this.
Thanks,
Tapan
Hi
I found teh artcle very useful.
A question I have is that we want to host a small Shareepoin 2010 farm on VM Hosts. Our template only allows 40gb on the c: drive but the d: and E: drive can be configured at any size from 100gb to 1tb. Is ist possible to to do the Sharepoint and office 2010 install on the d: drive and leave the operating systems and other associated utilities on the c: drive
Nice guide. It would be great to be able to read the information in the screenshots. I know what the screen looks like from a distance – what I’m interested in is the actual values on it.
I get as far as step just before the “Configuration are done in the Central Administration page”
and get an error “error 503 service unavailable” …just awesome
install account is domain member and in the local admin group, really frustrating
Great article, I’m doing a 3 tier small farm installation for a staging env. It would be better, if you include the addition of WFE’s to the existing farm.
Fabian,
Nice article.
Have a question
I have 2 WFE (LOAD BALANCE) + 1 APP SERVER + 2 db SERVERS
Can i load Sharepoint Foundataion on WFE, Sharepoint 2010 Enterprise on App server for Only Services, and sql on both db.
I am trying to find a cost viable solution, do we need enterprise license for WFE
Let me know your thoughts
Thank you
Neel